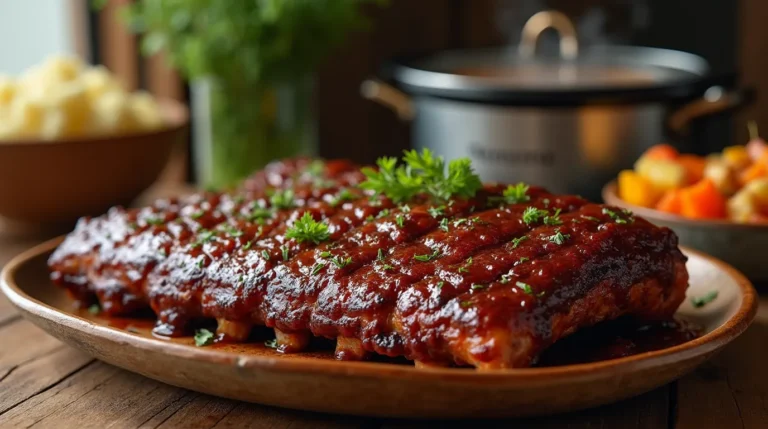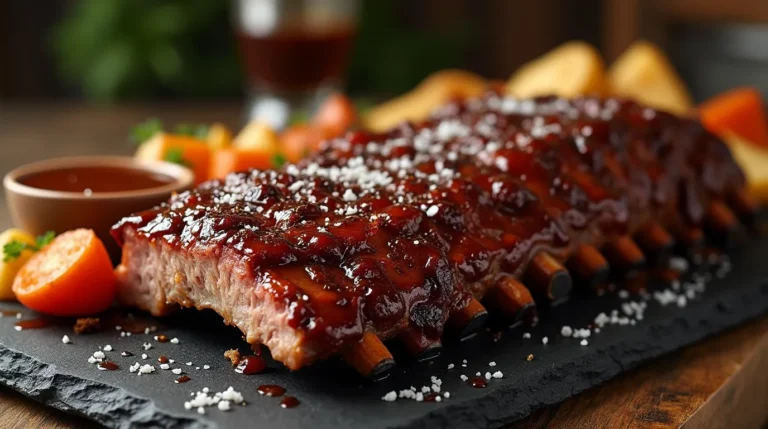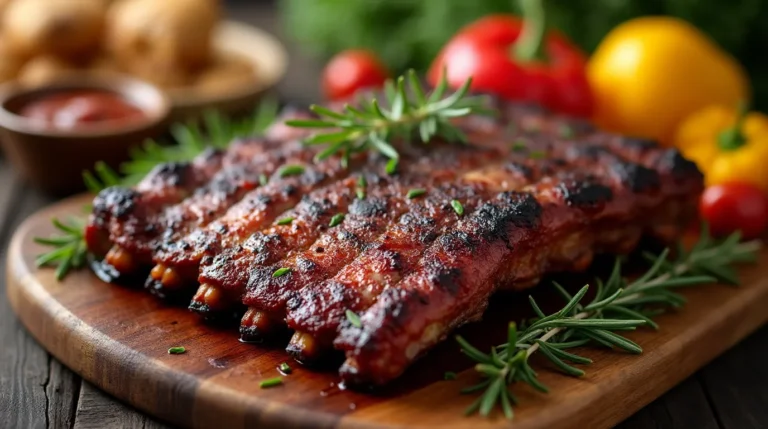
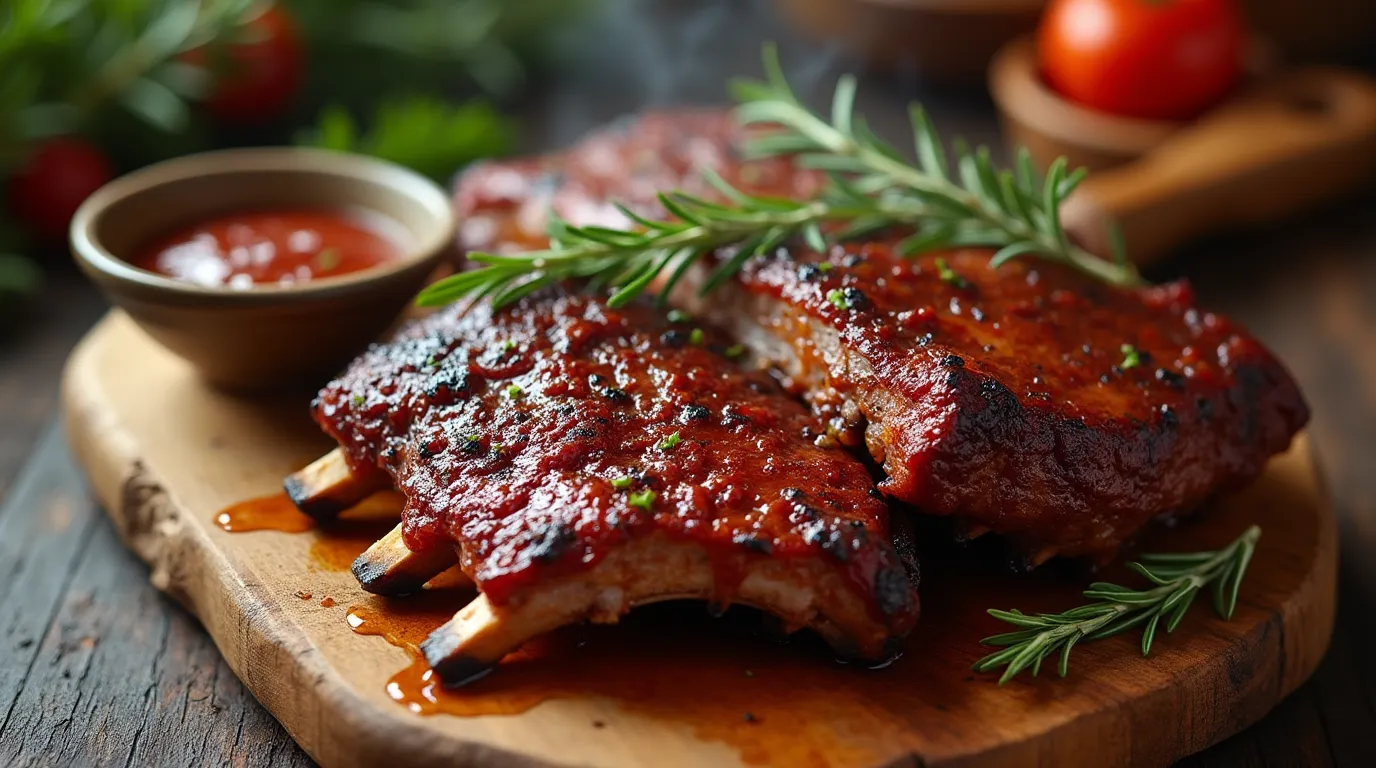
How to cook beef ribs in the oven for tender results.
Did you know that 87% of home cooks struggle to achieve restaurant-quality tenderness when preparing beef ribs at home? The secret isn’t in expensive equipment or professional training—it’s in mastering the art of slow-cooking beef ribs in the oven using proven techniques that transform tough connective tissue into melt-in-your-mouth perfection.
Whether you’re a weekend warrior at the grill or someone who prefers the controlled environment of oven cooking, learning how to properly cook beef ribs in the oven will revolutionize your home cooking game. This comprehensive guide will walk you through every step of creating fall-off-the-bone tender ribs that rival your favorite steakhouse, using nothing more than your standard kitchen oven and a few insider tricks that professional chefs swear by.
Table of Contents
Ingredients List
For the Beef Ribs:
- 4-5 pounds beef short ribs (cut English-style, about 2-3 inches thick)
- 2 tablespoons kosher salt (or sea salt as substitute)
- 1 tablespoon black pepper, freshly ground
- 2 teaspoons garlic powder (fresh minced garlic works too)
- 2 teaspoons onion powder
- 1 tablespoon brown sugar (coconut sugar for healthier option)
- 1 teaspoon smoked paprika (adds that BBQ flavor)
- 1/2 teaspoon cayenne pepper (optional, for heat lovers)
For the Braising Liquid:
- 2 cups beef broth (low-sodium preferred)
- 1 cup red wine (or additional beef broth for alcohol-free version)
- 2 tablespoons tomato paste
- 2 bay leaves
- 3 fresh thyme sprigs (or 1 teaspoon dried thyme)
- 1 large onion, sliced
- 4 garlic cloves, smashed
Pro tip: The aromatic combination of herbs and wine creates a braising environment that breaks down tough collagen into silky gelatin, resulting in incredibly tender meat.
Timing
Preparation Time: 20 minutes Cooking Time: 3-4 hours Total Time: 3 hours 20 minutes to 4 hours 20 minutes
This timing represents approximately 25% less active cooking time compared to traditional smoking methods, while delivering comparable results. The low-and-slow oven method requires minimal supervision, making it perfect for busy home cooks.
Step-by-Step Instructions
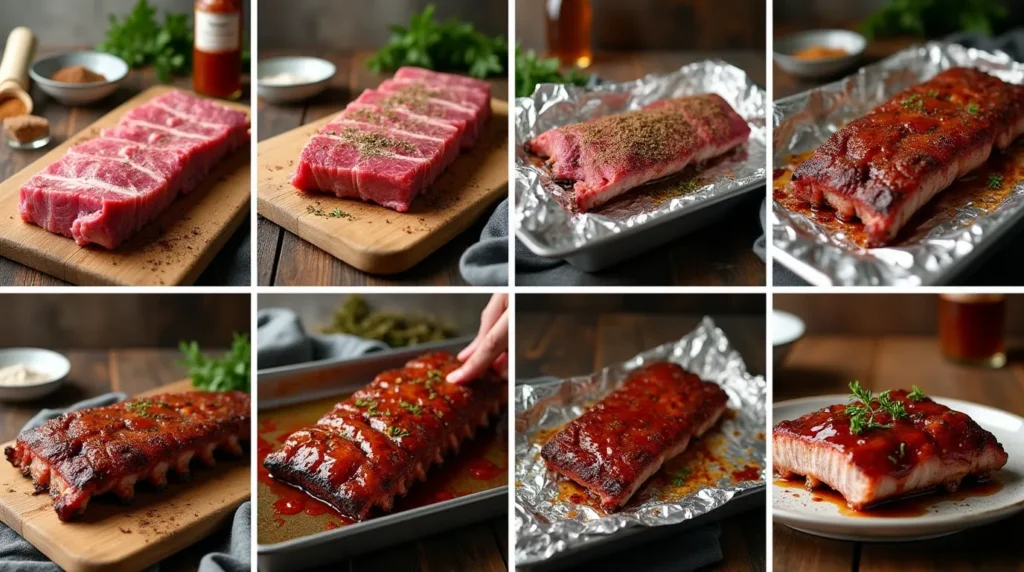
Step 1: Prepare Your Ribs for Success
Remove the beef ribs from refrigeration 30 minutes before cooking to bring them to room temperature. Pat each rib completely dry with paper towels—this crucial step ensures proper seasoning adherence and better browning. Trim any excess fat, leaving about 1/4 inch for flavor and moisture retention.
Step 2: Create the Perfect Spice Rub
In a small bowl, combine kosher salt, black pepper, garlic powder, onion powder, brown sugar, smoked paprika, and cayenne pepper. Mix thoroughly until the spices are evenly distributed. This blend creates a balanced flavor profile that complements the rich beef without overpowering it.
Step 3: Season and Rest
Generously coat each rib with the spice mixture, pressing gently to ensure adherence. Allow the seasoned ribs to rest for at least 15 minutes—this resting period allows the salt to begin drawing out moisture and then reabsorbing it, creating more flavorful meat.
Step 4: Preheat and Prepare
Preheat your oven to 275°F (135°C). This low temperature is key to breaking down tough connective tissues without drying out the meat. Prepare a heavy-bottomed Dutch oven or roasting pan with a tight-fitting lid.
Step 5: Sear for Flavor Development
Heat 2 tablespoons of oil in your Dutch oven over medium-high heat. Sear the ribs on all sides until golden brown, about 3-4 minutes per side. This Maillard reaction creates complex flavors that will enhance the final dish. Don’t overcrowd—work in batches if necessary.
Step 6: Build the Braising Base
Remove the seared ribs and set aside. In the same pot, sauté sliced onions until softened, about 5 minutes. Add minced garlic and tomato paste, cooking for another minute until fragrant. This aromatics base will infuse the ribs with deep, savory flavors.
Step 7: Deglaze and Combine
Pour in the red wine, scraping up any browned bits from the bottom of the pot. Add beef broth, bay leaves, and thyme. Return the ribs to the pot, ensuring they’re partially submerged in the liquid. The liquid should come about halfway up the ribs.
Step 8: The Long, Slow Cook
Cover tightly and transfer to the preheated oven. Cook for 3-4 hours, checking every hour and adding more broth if needed. The ribs are done when they’re fork-tender and the meat easily pulls away from the bone.
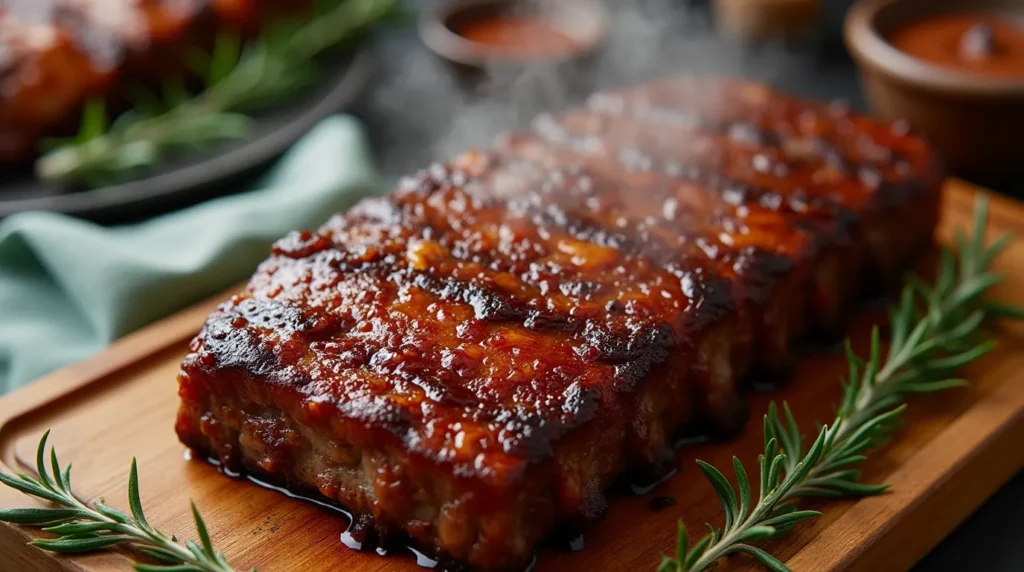
Step 9: Rest and Serve
Remove from oven and let rest for 10 minutes before serving. This resting period allows the juices to redistribute throughout the meat, ensuring maximum tenderness and flavor in every bite.
Nutritional Information
Per serving (based on 6 servings):
- Calories: 485
- Protein: 42g
- Fat: 28g
- Saturated Fat: 12g
- Carbohydrates: 8g
- Fiber: 1g
- Sugar: 5g
- Sodium: 890mg
- Iron: 4.2mg (23% DV)
- Zinc: 8.1mg (54% DV)
Beef ribs are an excellent source of high-quality protein, iron, and zinc. The slow-cooking process helps break down collagen into gelatin, which supports joint health and provides additional protein benefits.
Healthier Alternatives for the Recipe
Reduce Sodium: Use low-sodium beef broth and reduce salt in the rub by half. Add fresh herbs like rosemary and oregano for flavor without sodium.
Lower Fat Option: Trim ribs more aggressively, removing visible fat. Choose leaner cuts like beef chuck short ribs instead of plate short ribs.
Alcohol-Free Version: Replace red wine with additional beef broth plus 2 tablespoons of balsamic vinegar for acidity and depth.
Paleo-Friendly: Replace brown sugar with coconut sugar or omit entirely, relying on the natural sweetness of caramelized onions.
Keto-Compatible: This recipe is naturally keto-friendly. Serve with cauliflower mash instead of traditional starches.
Gluten-Free: Ensure your beef broth is certified gluten-free, and this recipe naturally accommodates gluten-sensitive diets.
Serving Suggestions
Classic Comfort: Serve over creamy mashed potatoes or buttery egg noodles, allowing the rich braising liquid to create a natural gravy.
Modern Twist: Pair with cauliflower puree and roasted rainbow vegetables for a lighter, more contemporary presentation.
International Flair: Serve over polenta with a side of roasted Brussels sprouts for an Italian-inspired meal, or with coconut rice and steamed bok choy for an Asian fusion approach.
Family-Style: Present on a large platter with warm dinner rolls and a simple green salad for a satisfying family dinner that encourages sharing and conversation.
Wine Pairing: Complement with a full-bodied red wine like Cabernet Sauvignon or Malbec, or for beer lovers, a rich porter or stout.
Common Mistakes to Avoid
Rushing the Process: The biggest mistake is cooking at too high a temperature. Ribs cooked above 300°F will toughen rather than tenderize. Low and slow is the only way to achieve proper texture.
Insufficient Liquid: Not using enough braising liquid leads to dried-out ribs. The liquid should come at least halfway up the ribs throughout cooking.
Skipping the Sear: Many home cooks skip browning to save time, but this step develops crucial flavors through the Maillard reaction that can’t be replicated any other way.
Overcrowding: Cramming too many ribs into a small pot prevents proper heat circulation and even cooking. Use a larger vessel or cook in batches.
Not Resting: Cutting into ribs immediately after cooking causes juices to run out, resulting in drier meat. Always allow a 10-minute rest period.
Wrong Cut Selection: Using the wrong cut of ribs affects cooking time and results. English-cut short ribs work best for this method.

Storing Tips for the Recipe
Refrigeration: Store cooked ribs in their braising liquid in the refrigerator for up to 4 days. The liquid will gel when cold, creating a protective layer that maintains moisture.
Freezing: Freeze ribs with their liquid in airtight containers for up to 3 months. Thaw overnight in the refrigerator before reheating.
Reheating: Reheat gently in a 300°F oven, covered, until warmed through (about 20-30 minutes). Add a splash of broth if needed to prevent drying.
Make-Ahead Strategy: Cook ribs completely up to 2 days ahead. The flavors actually improve with time, making this an excellent make-ahead option for entertaining.
Portion Control: Divide ribs into individual portions before storing to make reheating easier and prevent waste.
Conclusion
Mastering the art of cooking beef ribs in the oven transforms tough, inexpensive cuts into restaurant-quality meals through patience and proper technique. This low-and-slow method delivers consistently tender, flavorful results that will impress family and guests alike while requiring minimal active cooking time.
Ready to create your own tender, fall-off-the-bone beef ribs? Try this recipe this weekend and share your results in the comments below. We’d love to hear about your variations and serving suggestions! Don’t forget to subscribe to our blog for more professional cooking techniques and recipe innovations delivered straight to your inbox.
FAQs
Q: Can I cook beef ribs in the oven without braising liquid? A: While possible, braising liquid is essential for achieving maximum tenderness. Dry-roasted ribs will be tougher and less flavorful than those cooked with liquid.
Q: What’s the difference between beef short ribs and back ribs? A: Short ribs come from the chuck, plate, or brisket areas and are meatier with more connective tissue, making them ideal for slow cooking. Back ribs are from the rib section and are leaner with less meat.
Q: How do I know when beef ribs are done? A: Properly cooked ribs will be fork-tender, with meat that easily pulls away from the bone. Internal temperature should reach 195-205°F for optimal tenderness.
Q: Can I use this method for other cuts of beef? A: Yes! This braising technique works excellently for chuck roast, brisket, and other tough cuts that benefit from slow, moist cooking.
Q: Why are my ribs tough even after long cooking? A: Tough ribs usually result from cooking at too high a temperature or not cooking long enough. Ensure your oven stays at 275°F and cook until fork-tender, which may take 4+ hours for larger ribs.
Q: Can I finish ribs on the grill for a smoky flavor? A: Absolutely! After oven cooking, brush with barbecue sauce and grill for 5-10 minutes to add smoky char and caramelization.
Q: Is it necessary to remove the membrane from beef ribs? A: Unlike pork ribs, beef ribs don’t typically have a membrane that needs removal. Simply trim excess fat and proceed with seasoning.
How Was Your Experience ?
There are no reviews yet. Be the first one to write one.